
Introduction:
Preparing your kitchen for a cabinet painting project is a crucial step to ensuring a smooth and successful transformation. A little effort spent on proper preparation will result in a long-lasting, professional-looking finish. In this guide, we’ll walk you through each step to help you get your kitchen ready for a cabinet makeover.
Step 1: Clear Out the Kitchen
Before you start, remove all items from your kitchen cabinets. This includes dishes, utensils, cleaning supplies, and food items. You’ll also want to remove any decorative items or kitchen tools that may be in the way. By clearing the space, you will not only make room to work, but you’ll also protect your belongings from any accidental splatters of paint.
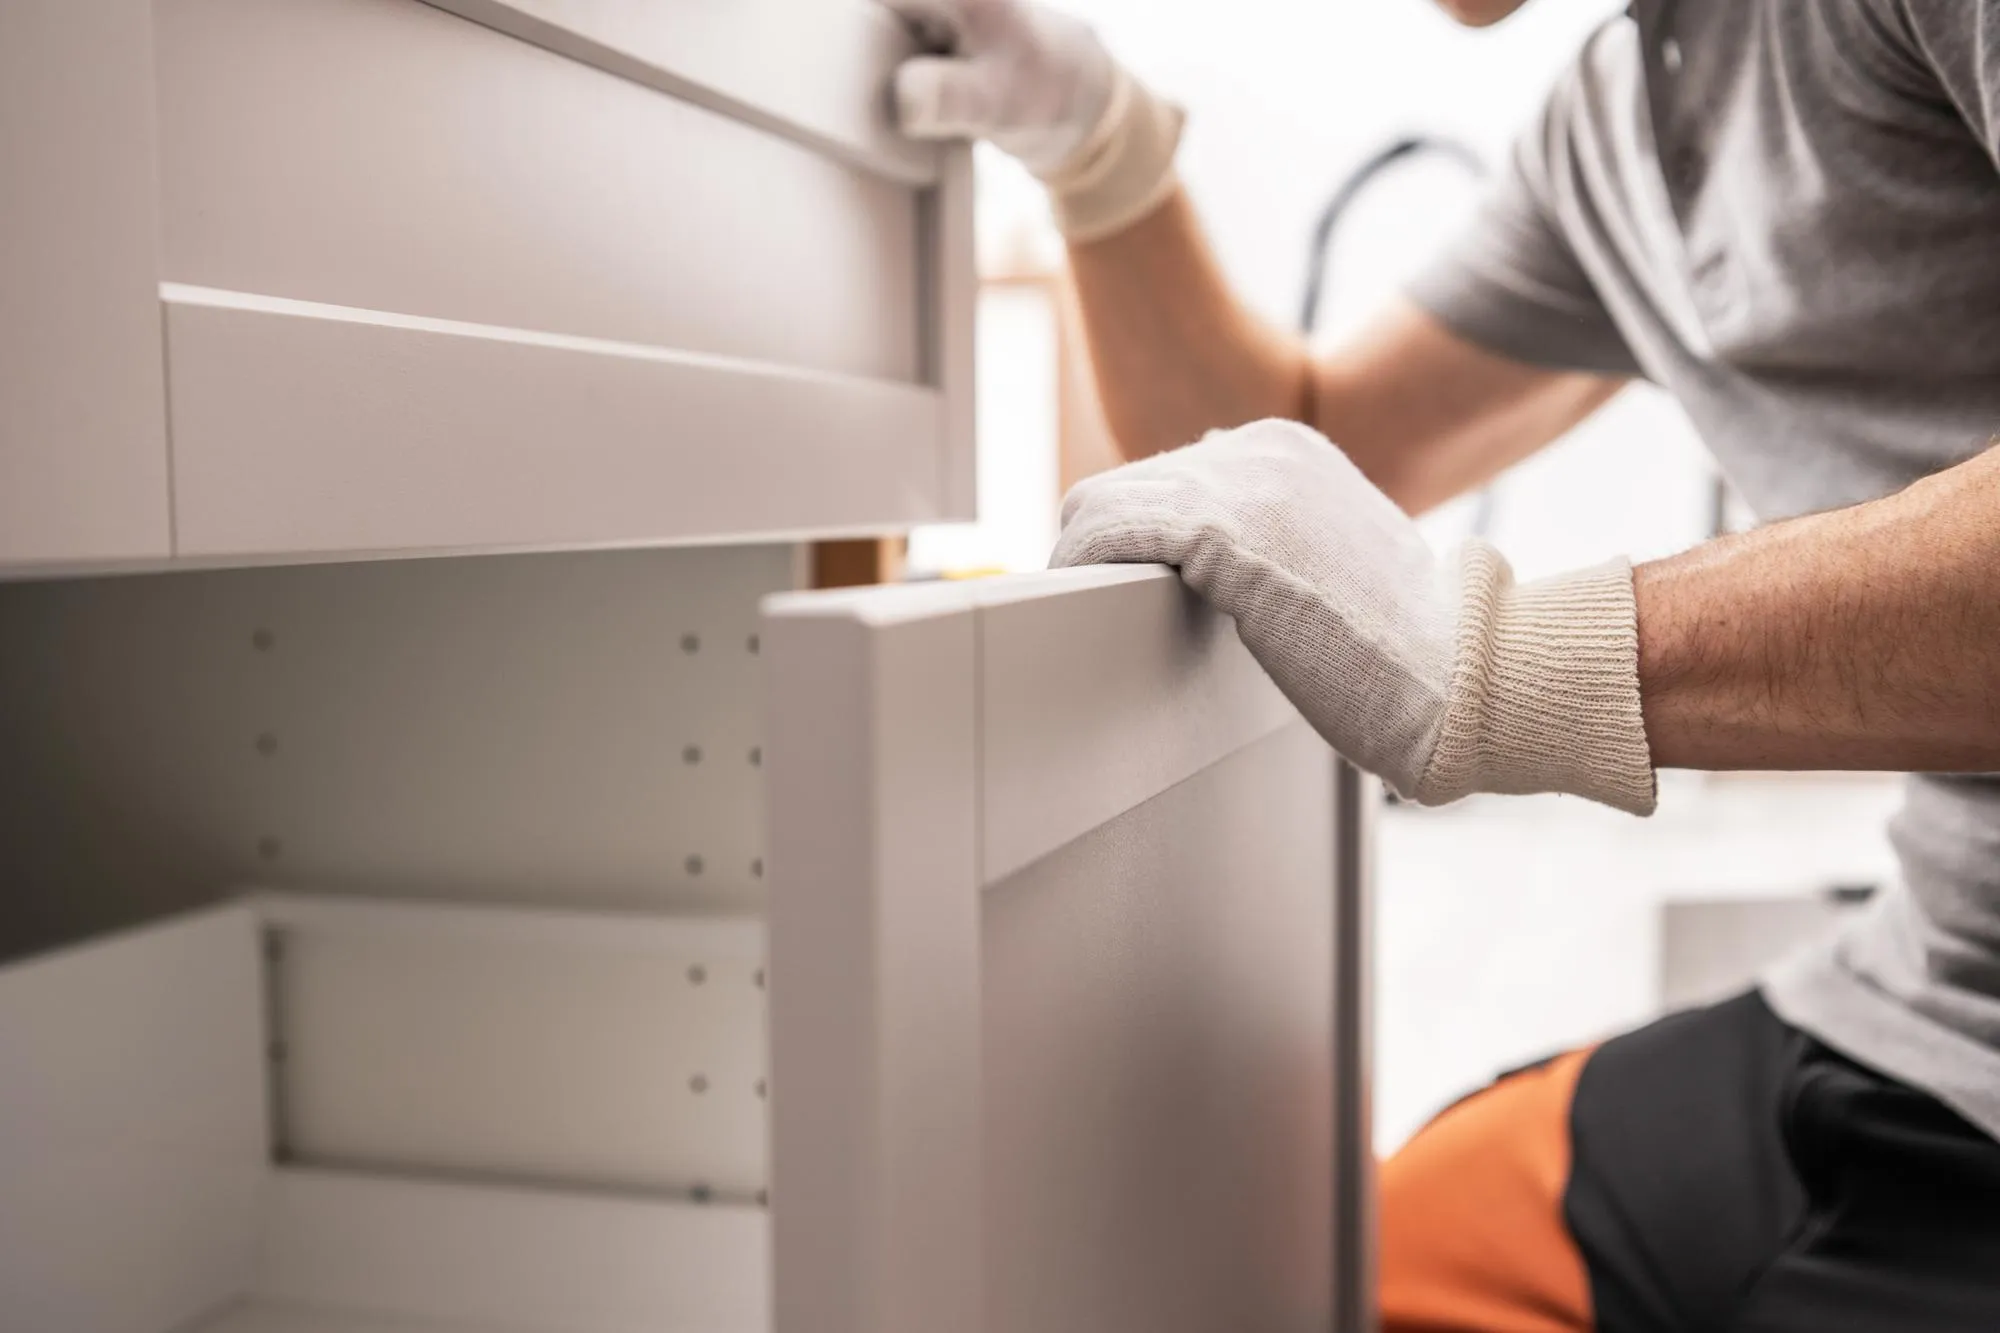
Step 2: Remove Cabinet Doors and Hardware
Next, use a screwdriver to remove the cabinet doors and drawers from their frames. This allows you to work on each piece more easily and ensures that you paint every surface.
Also, remove the hardware — such as handles, knobs, and hinges — from the doors and drawers. You can either keep them for reinstallation after the paint job, or replace them with new ones for an updated look. To avoid losing screws or small parts, use a small container to store them.
Step 3: Clean the Cabinets Thoroughly
Before painting, it’s essential to remove grease, dirt, and grime from your cabinets. This is especially important in kitchens, where cooking oils and food particles can build up over time.
- Use a degreaser or a mix of warm water and dish soap to clean the surfaces.
- Wipe down the insides of the cabinet doors and frames.
- Don’t forget to clean the hardware (if you plan to reuse it), as any residue will prevent the paint from adhering properly.
Allow the cabinets to dry completely before moving on to the next step.
Step 4: Sand the Cabinet Surfaces
Sanding is one of the most important steps in preparing your kitchen for a cabinet painting project. Sanding helps to create a smooth surface and improves paint adhesion.
- Use a medium-grit sandpaper (around 120-grit) to sand the cabinet doors, frames, and any other surfaces that you’ll be painting.
- Sand gently to remove any existing finish, but don’t sand too aggressively — you want to rough up the surface without damaging the wood.
- After sanding, wipe away the dust with a damp cloth to ensure a clean surface.
If your cabinets have a glossy finish, you may need to sand them a bit more to help the paint stick better. For a more detailed guide on sanding, check out our post on how to sand kitchen cabinets for painting.
Step 5: Protect Your Kitchen from Paint Drips
Paint drips and splatters can make a mess and be difficult to clean. To protect your kitchen from paint stains, take the following precautions:
- Cover the floor: Lay down a large drop cloth or plastic sheeting on the floor to catch any drips.
- Protect countertops: Use painter’s tape and plastic to cover your countertops and protect them from splashes.
- Tape off areas around the cabinets: Use painter’s tape to mask off walls, trim, and the edges of countertops that are adjacent to the cabinets.
Taking these simple precautions will ensure your kitchen stays clean while you work.
Step 6: Choose the Right Paint and Primer
The type of paint you use for your kitchen cabinets is essential to achieving a durable, smooth finish. For best results:
- Pick the right paint: Opt for cabinet-grade paint, preferably an oil-based or high-quality latex paint designed for kitchens. These paints will provide a long-lasting finish that can withstand heat, moisture, and heavy use.
- Primer: If your cabinets have never been painted before or have a dark stain, applying a primer is a good idea. This will help the paint cover evenly and last longer.
Make sure to choose a paint color that complements your kitchen’s design. Neutral shades, such as whites, grays, and taupes, are popular choices, but bold colors can also add a stylish touch to the space.
If you need expert advice or assistance with your kitchen cabinet painting, explore our kitchen cabinet painting services. For a more tailored approach, check out our vanity cabinet painting and residential cabinet painting services.
Step 7: Set Up Your Workspace
Setting up a dedicated, well-ventilated workspace is key to keeping your painting project organized and efficient.
- If possible, set up your kitchen as a work area, but keep the door closed to minimize dust and debris entering.
- Ensure that you have proper lighting to clearly see what you’re working on.
- Organize your tools, including brushes, rollers, paint trays, and painter’s tape, so everything is easily accessible.
Having a well-organized and spacious area will make the painting process smoother and quicker.
Step 8: Allow Enough Time for Drying and Curing
Patience is key when it comes to cabinet painting. Once the painting is done, allow sufficient drying time between coats. A typical project will require several hours for the paint to dry fully. Avoid rushing the process, as this can lead to streaks and a less-than-perfect finish.
After the final coat, allow the cabinets to cure for at least 24-48 hours before reinstalling them. While they may feel dry to the touch, the paint needs time to fully harden.
Conclusion:
Proper preparation is the secret to a successful cabinet painting project. By clearing the space, removing hardware, cleaning and sanding your cabinets, and protecting your kitchen, you’ll ensure that the final result is nothing short of amazing. Follow these steps, and you’ll be ready to transform your kitchen into a fresh, modern space that you’ll love.
If you’re looking for professional help, be sure to visit Toronto Custom Painting to explore all our services.